Social scheduler
Schedule posts to X and LinkedIn
Social scheduler
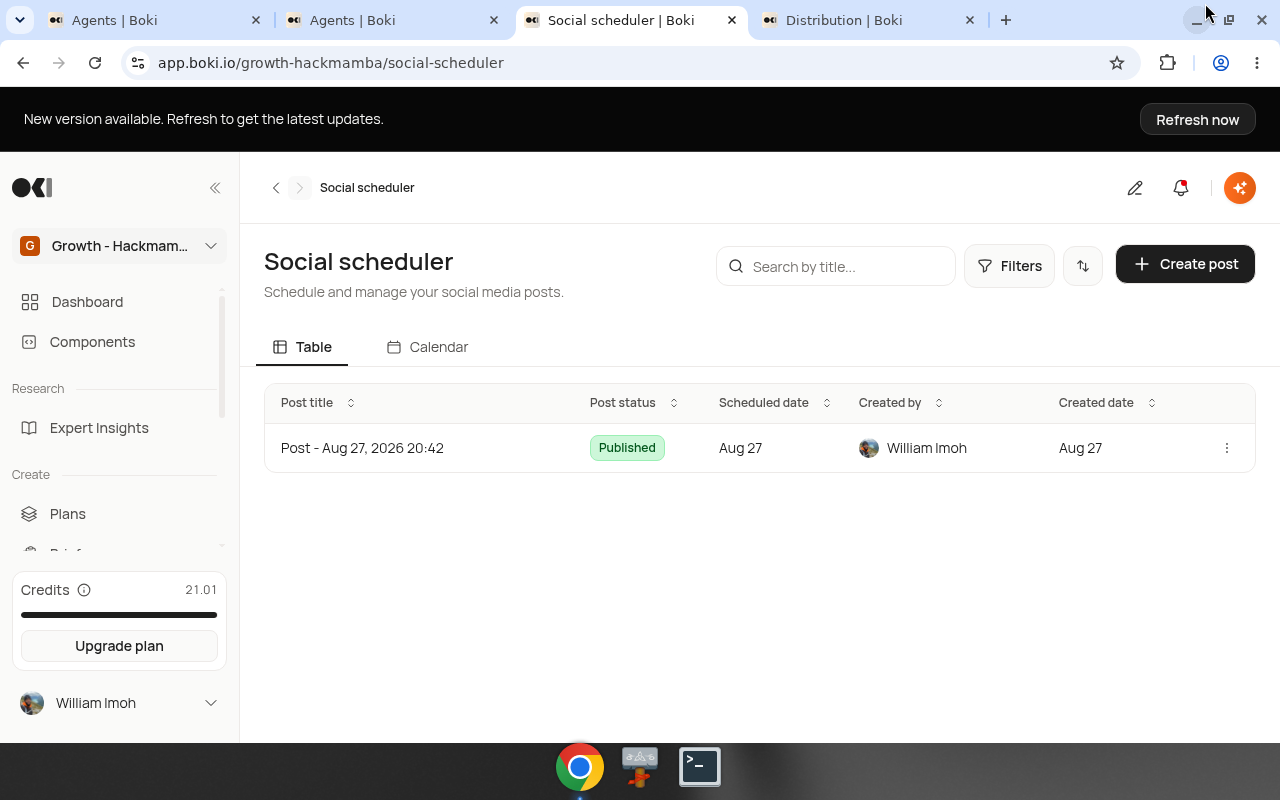
Schedule posts to your connected social accounts. Write posts, set times, and let Boki publish automatically.
Supported platforms
| Platform | Post types |
|---|---|
| X (Twitter) | Posts, Threads |
| Posts (personal and Company Pages) |
Creating a social post
From the header Create menu
- Open the Create menu in the workspace header
- Select Posts
- Write your post:
- Enter text
- Add images or video (optional)
- Select accounts to post to
- Choose when to post:
- Post now — publishes immediately
- Schedule — pick date and time
- Click Schedule or Post
From the sidebar
- Go to Publish → Social scheduler in the sidebar
- Click Create post
- Write your post:
- Enter text
- Add images or video (optional)
- Select accounts to post to
- Choose when to post:
- Post now — publishes immediately
- Schedule — pick date and time
- Click Schedule or Post
Connected accounts refresh: When you open the post creation or editing dialog, Boki refreshes your connected accounts so you're working from current account choices.
Default access: New posts default to Team access, so your post is shared with your team from the start. Change this in the post settings if you need a different visibility.
Saving as draft: You can save a post as draft even with no social platforms selected. This lets you write content now and choose destinations later.
Media preview: When you attach a video, you can preview it before the post goes out. This lets you verify the content is correct without publishing first.
Character limits
| Platform | Limit |
|---|---|
| 3,000 characters | |
| X (Basic/free) | 280 characters |
| X (Premium) | 25,000 characters |
The editor shows character count and warns when approaching limits. Hover over the character counter to see the tooltip with limits for each platform.
Creating threads (X)
For X threads:
- Click Add to thread to add posts
- Each post is a thread segment
- Arrange posts in order
- Schedule the entire thread
The thread posts in sequence.
Mentioning accounts (@)
Tag people and companies directly in your post caption.
How to mention
- Type
@in the caption - A mention popover appears with search results
- Search for the person, company, or X account you want to tag
- Select the result to place the mention at that position in your post
Platform behavior
| Platform | Mention behavior |
|---|---|
| Publishes as native person or company mentions (clickable) | |
| X | Keeps the selected @username in the caption text |
Multi-platform posts
When a post supports both X and LinkedIn, you can switch between platforms to see how mentions will appear on each. Boki stores the selected account with the post.
Warnings
Boki warns you when:
- An account is not connected
- A provider limit applies (e.g., LinkedIn mention limits)
LinkedIn initial comment
Add a first comment to your LinkedIn post before publishing.
- Write your post
- Click Add initial comment (or similar)
- Write the comment text
- Preview how it will appear
- Publish — the comment posts automatically with your main post
Use initial comments for:
- Hashtags you don't want in the main post
- A call to action
- Additional context that shouldn't crowd the main message
Multi-platform posting
Post the same content to multiple accounts:
- Write the post
- Select multiple accounts in the destination picker
- The post is adapted to each platform's limits
- Schedule once, publishes to all selected accounts
Platform-specific captions
Write different captions for each platform from the same post. This lets you tailor tone, length, and call to action for where the post is going, without duplicating the whole post.
How it works:
- Create a post and select multiple platforms (e.g., X and LinkedIn)
- Switch between platforms in the editor to write a different caption for each
- Each platform gets its own text while sharing the same images and scheduling
When to use it:
- LinkedIn posts benefit from longer, professional copy while X needs concise text
- Different CTAs work better on different platforms
- Hashtag strategies vary by platform
Approvals
Send a draft post for review before publishing.
How approvals work
- Create a post and save it as draft
- Send the draft for review
- The reviewer approves or requests changes
Pending approval cards show creator details, so you can see who owns an item without opening it.
Approval and publishing
- Draft without scheduled time: If the creator did not set a publish or schedule time, approval does not publish the post. The post stays in a draft/approved state until the creator schedules or publishes it manually.
- Draft with scheduled time: If a schedule or publish time was already set, approval proceeds on that time.
This lets reviewers approve content without accidentally publishing it before the creator is ready.
Filtering and viewing posts
Filters
The scheduler list and calendar views support filters to narrow down what you see:
- Social account: Show posts for a specific connected account
- Creation time: Filter by when posts were created
Active filters appear in the view. When you select "All", no filter indicator is shown.
Post list columns
The post list shows:
- Post content preview
- Social account avatars for each destination
- Impressions and engagement totals (for published posts)
- Status and scheduled time
Scheduled entries show the time alongside the date for precision.
Managing scheduled posts
View scheduled posts
The social scheduler shows:
- Calendar view of scheduled posts
- List of upcoming posts
- Status of each post
Edit a scheduled post
- Find the post in the schedule
- Click to open
- Edit text, time, or accounts
- Save
Cancel a scheduled post
- Open the scheduled post
- Click Cancel
- Confirm
Post history
View past posts:
- Filter by "Published" status
- See engagement metrics (when available)
Published post link
When viewing a published post's details, you can see links to the live posts under the Published on section. Each link takes you directly to the post on X or LinkedIn and is clickable.
Engagement metric overrides
You can override the engagement metrics on a published post so your reporting reflects reality.
How it works
- Open a published post
- See engagement broken down by platform — each connected account shows its metrics
- Edit the numbers on any account row
- Boki labels each row as Edited or Synced so you can see where a value came from
Editing and removing overrides
- Edit: Click on a metric value and enter the correct number
- Remove: Delete your override to restore the automatically synced value
- Refresh: Click refresh to pull the latest synced metrics from the platform at any time
Overrides change how Boki reports the numbers, not the metrics on the social platform itself. This is useful for reconciling campaign reports when a synced value doesn't match what you see on the platform.
Notifications when posts publish
When a scheduled post publishes successfully, the creator and assignee receive:
- An email notification with a link to the live post
- An in-app notification
This helps you confirm the post is live and share it immediately.
Best practices
Schedule ahead: Queue content for consistent posting.
Vary by platform: What works on X may not work on LinkedIn.
Check timezone: The schedule picker shows your timezone (e.g., "Central European Summer Time (GMT+2)"). Posts are scheduled in that timezone.
Review before posting: Preview how posts will appear.
Related
- Promotions — Connect posts to content
- Connect X and LinkedIn — Set up accounts
- Short links — Track link clicks